Becoming a pilot isn’t luck or talent, it’s the result of structured training, consistent practice, and the right team behind you.
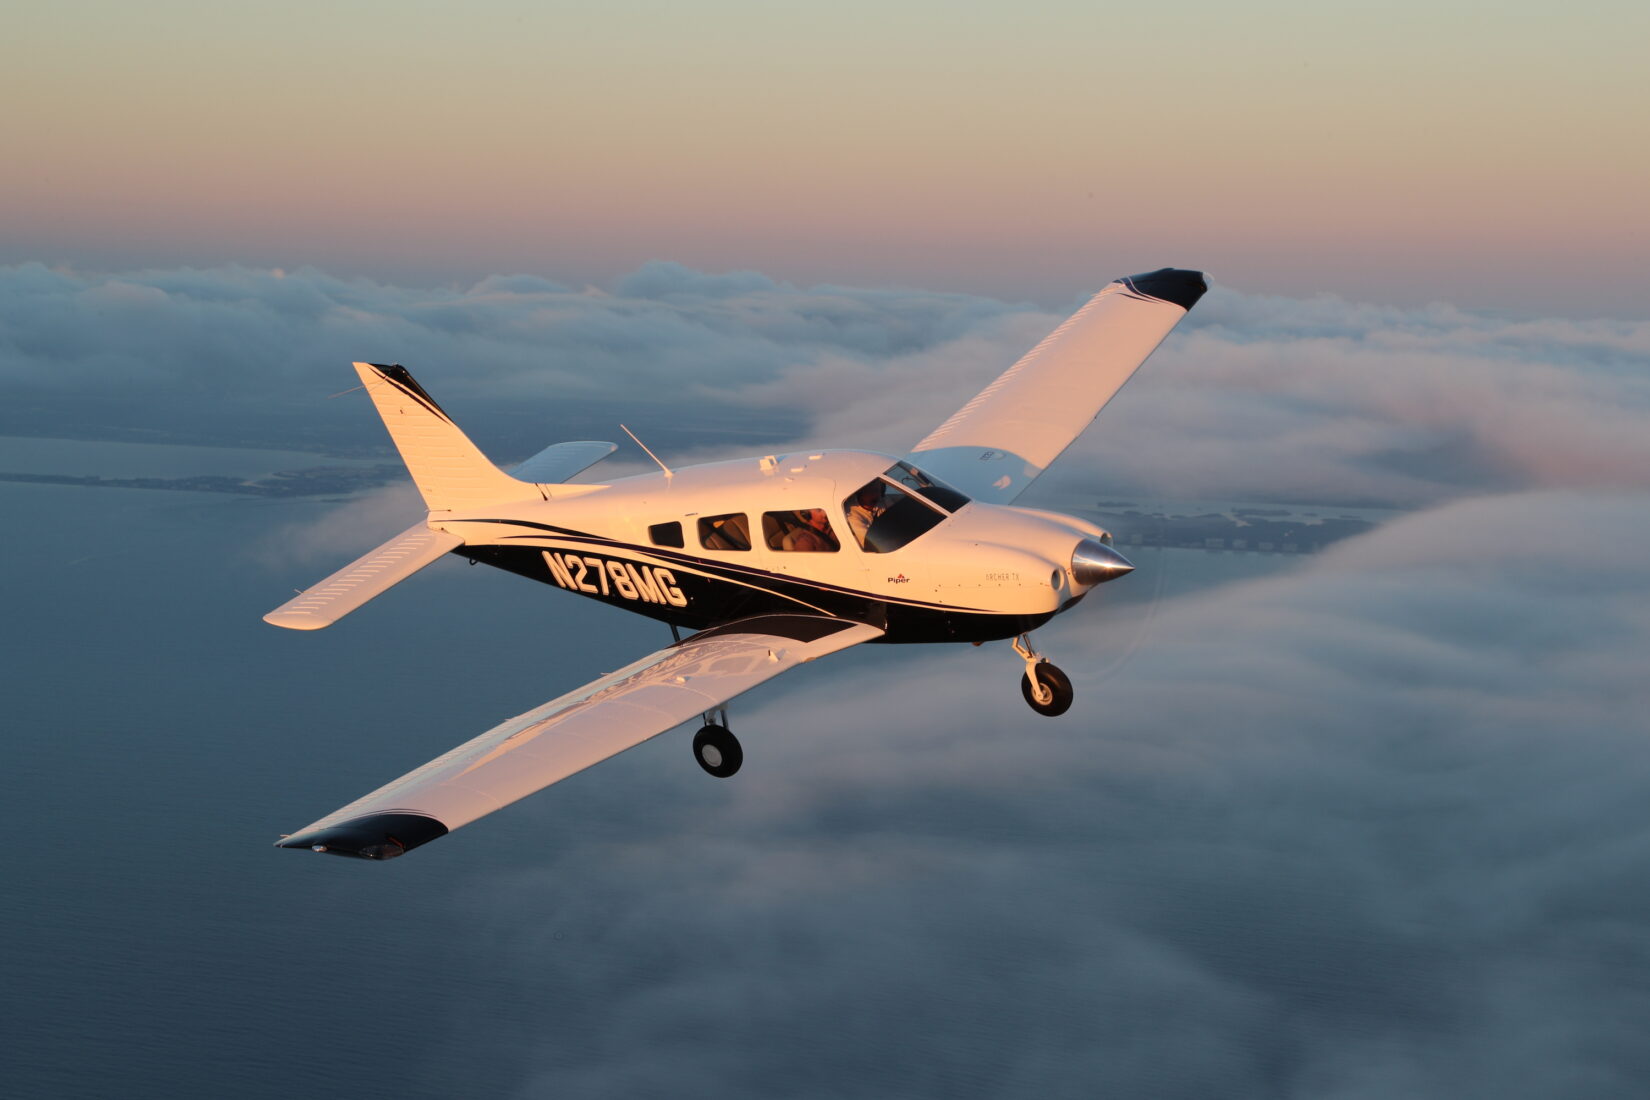
Earning your Private Pilot License (PPL) in California is one of the most rewarding, and practical, challenges you can take on. With great weather, varied terrain, and a wealth of airports, California offers unique training opportunities. This guide breaks the process into clear, actionable steps and adds practical tips we use every day at McFly Education.
Step 1: Know the FAA Requirements (and how they translate to training)
The FAA defines the legal minimums for a private pilot. Start with these essentials:
- Age: You must be 17 to hold a PPL (you can start lessons earlier).
- Medical: Hold a current FAA medical certificate (Class 3 or higher) or meet BasicMed requirements where applicable.
- Language: Be proficient in English for radio and safety communications.
- Minimum flight time: 40 hours (FAA minimum), but the national average is typically 55–70 hours depending on consistency and prior experience.
- Knowledge & skill: Pass the FAA written (knowledge) exam and a practical checkride (oral + flight test) covering the Airman Certification Standards (ACS).
Practical takeaways:
- Use the ACS as your syllabus roadmap, the ACS is the checklist your examiner will use.
- Expect to do multiple cross-country flights, solo flights, night time training, and emergency procedure practice.
- Budget for more than the minimum flight time; plan around frequency of lessons to avoid skill decay.
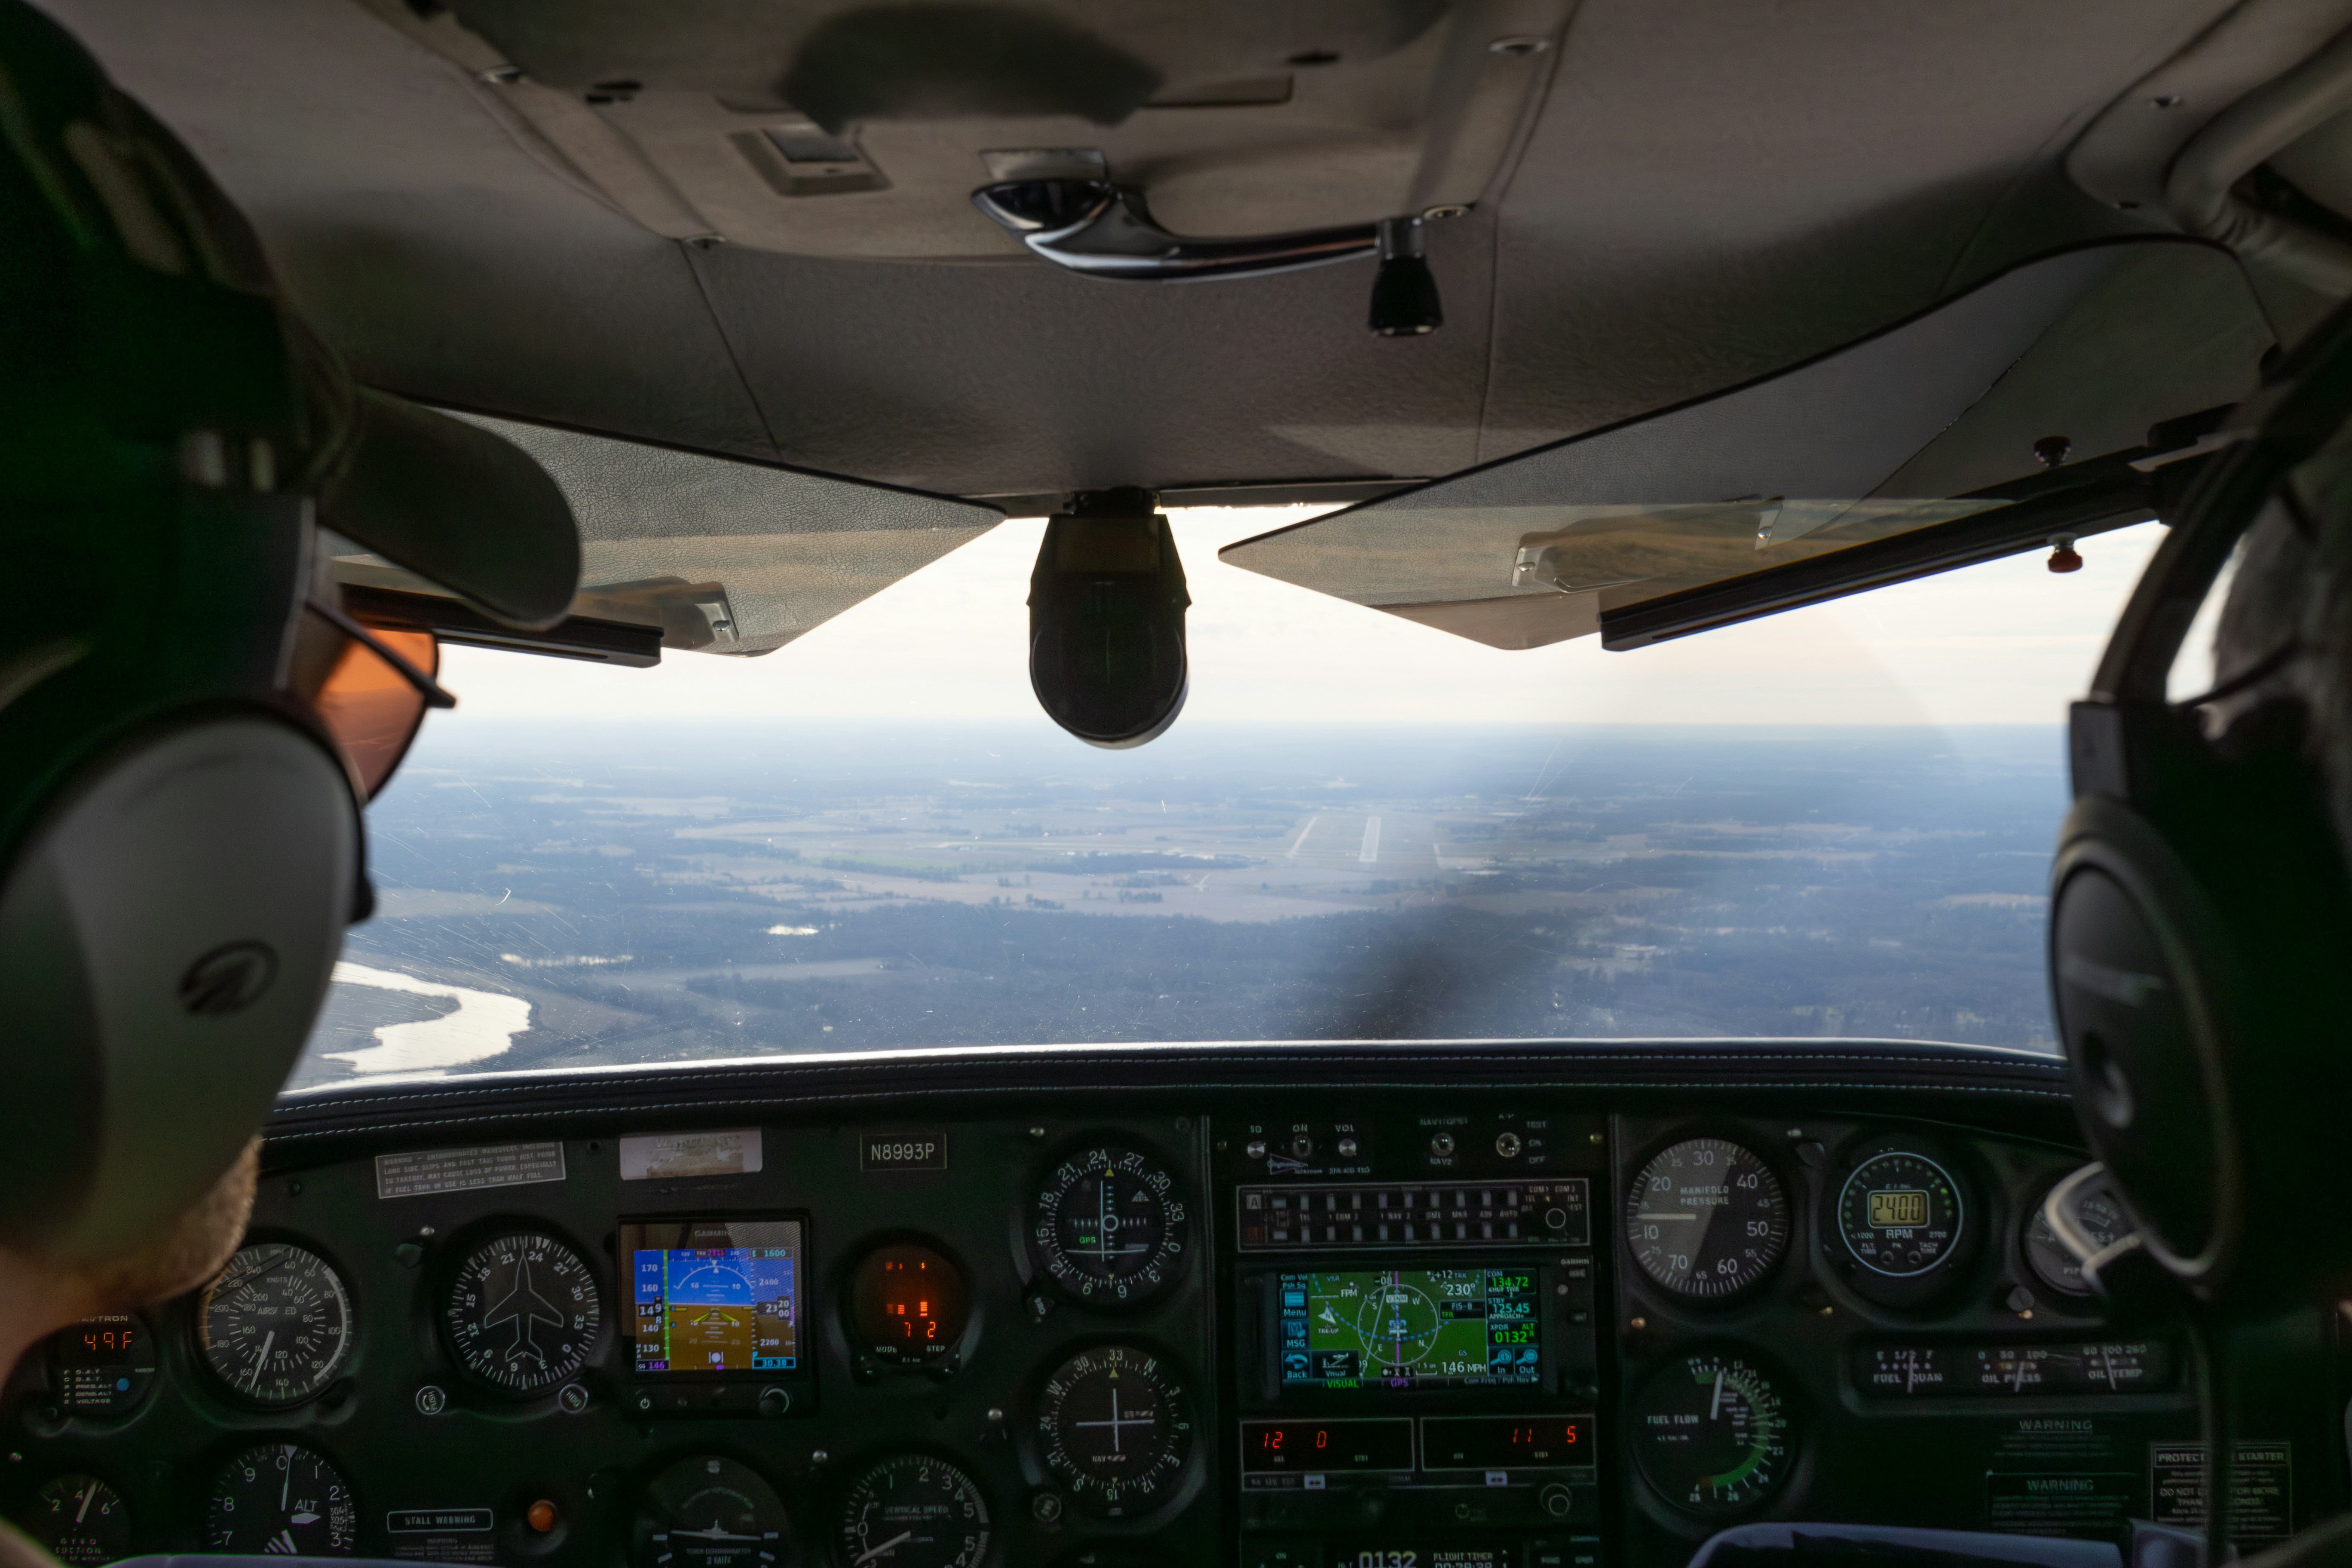
Step 2: Build Flight Hours Efficiently (quality beats quantity)
A smart training plan focuses on deliberate practice, not just logging hours.
Use a structured syllabus
- Follow a syllabus that sequences maneuvers, cross-country navigation, and emergency drills. Each lesson should have measurable objectives tied to the ACS.
Identify and fix weaknesses early
- If landings or radio calls are weak, isolate them and practice in focused blocks. Bad habits compound; address them quickly.
Leverage simulators strategically
- Simulators are ideal for: instrument scanning, emergency procedures, radio work, and checklist fluency.
- Use sim sessions to rehearse rare emergencies so real aircraft time is reserved for hands-on skills.
Log and review
- Keep a training journal: objectives, errors, ACS references, and actionable next steps. Reviewing your notes between lessons is proven to reduce total hours needed.
Frequency matters
- Training consistency matters more than lesson length. Flying 2–3 times per week reduces skill fade and shortens the total elapsed time to completion.
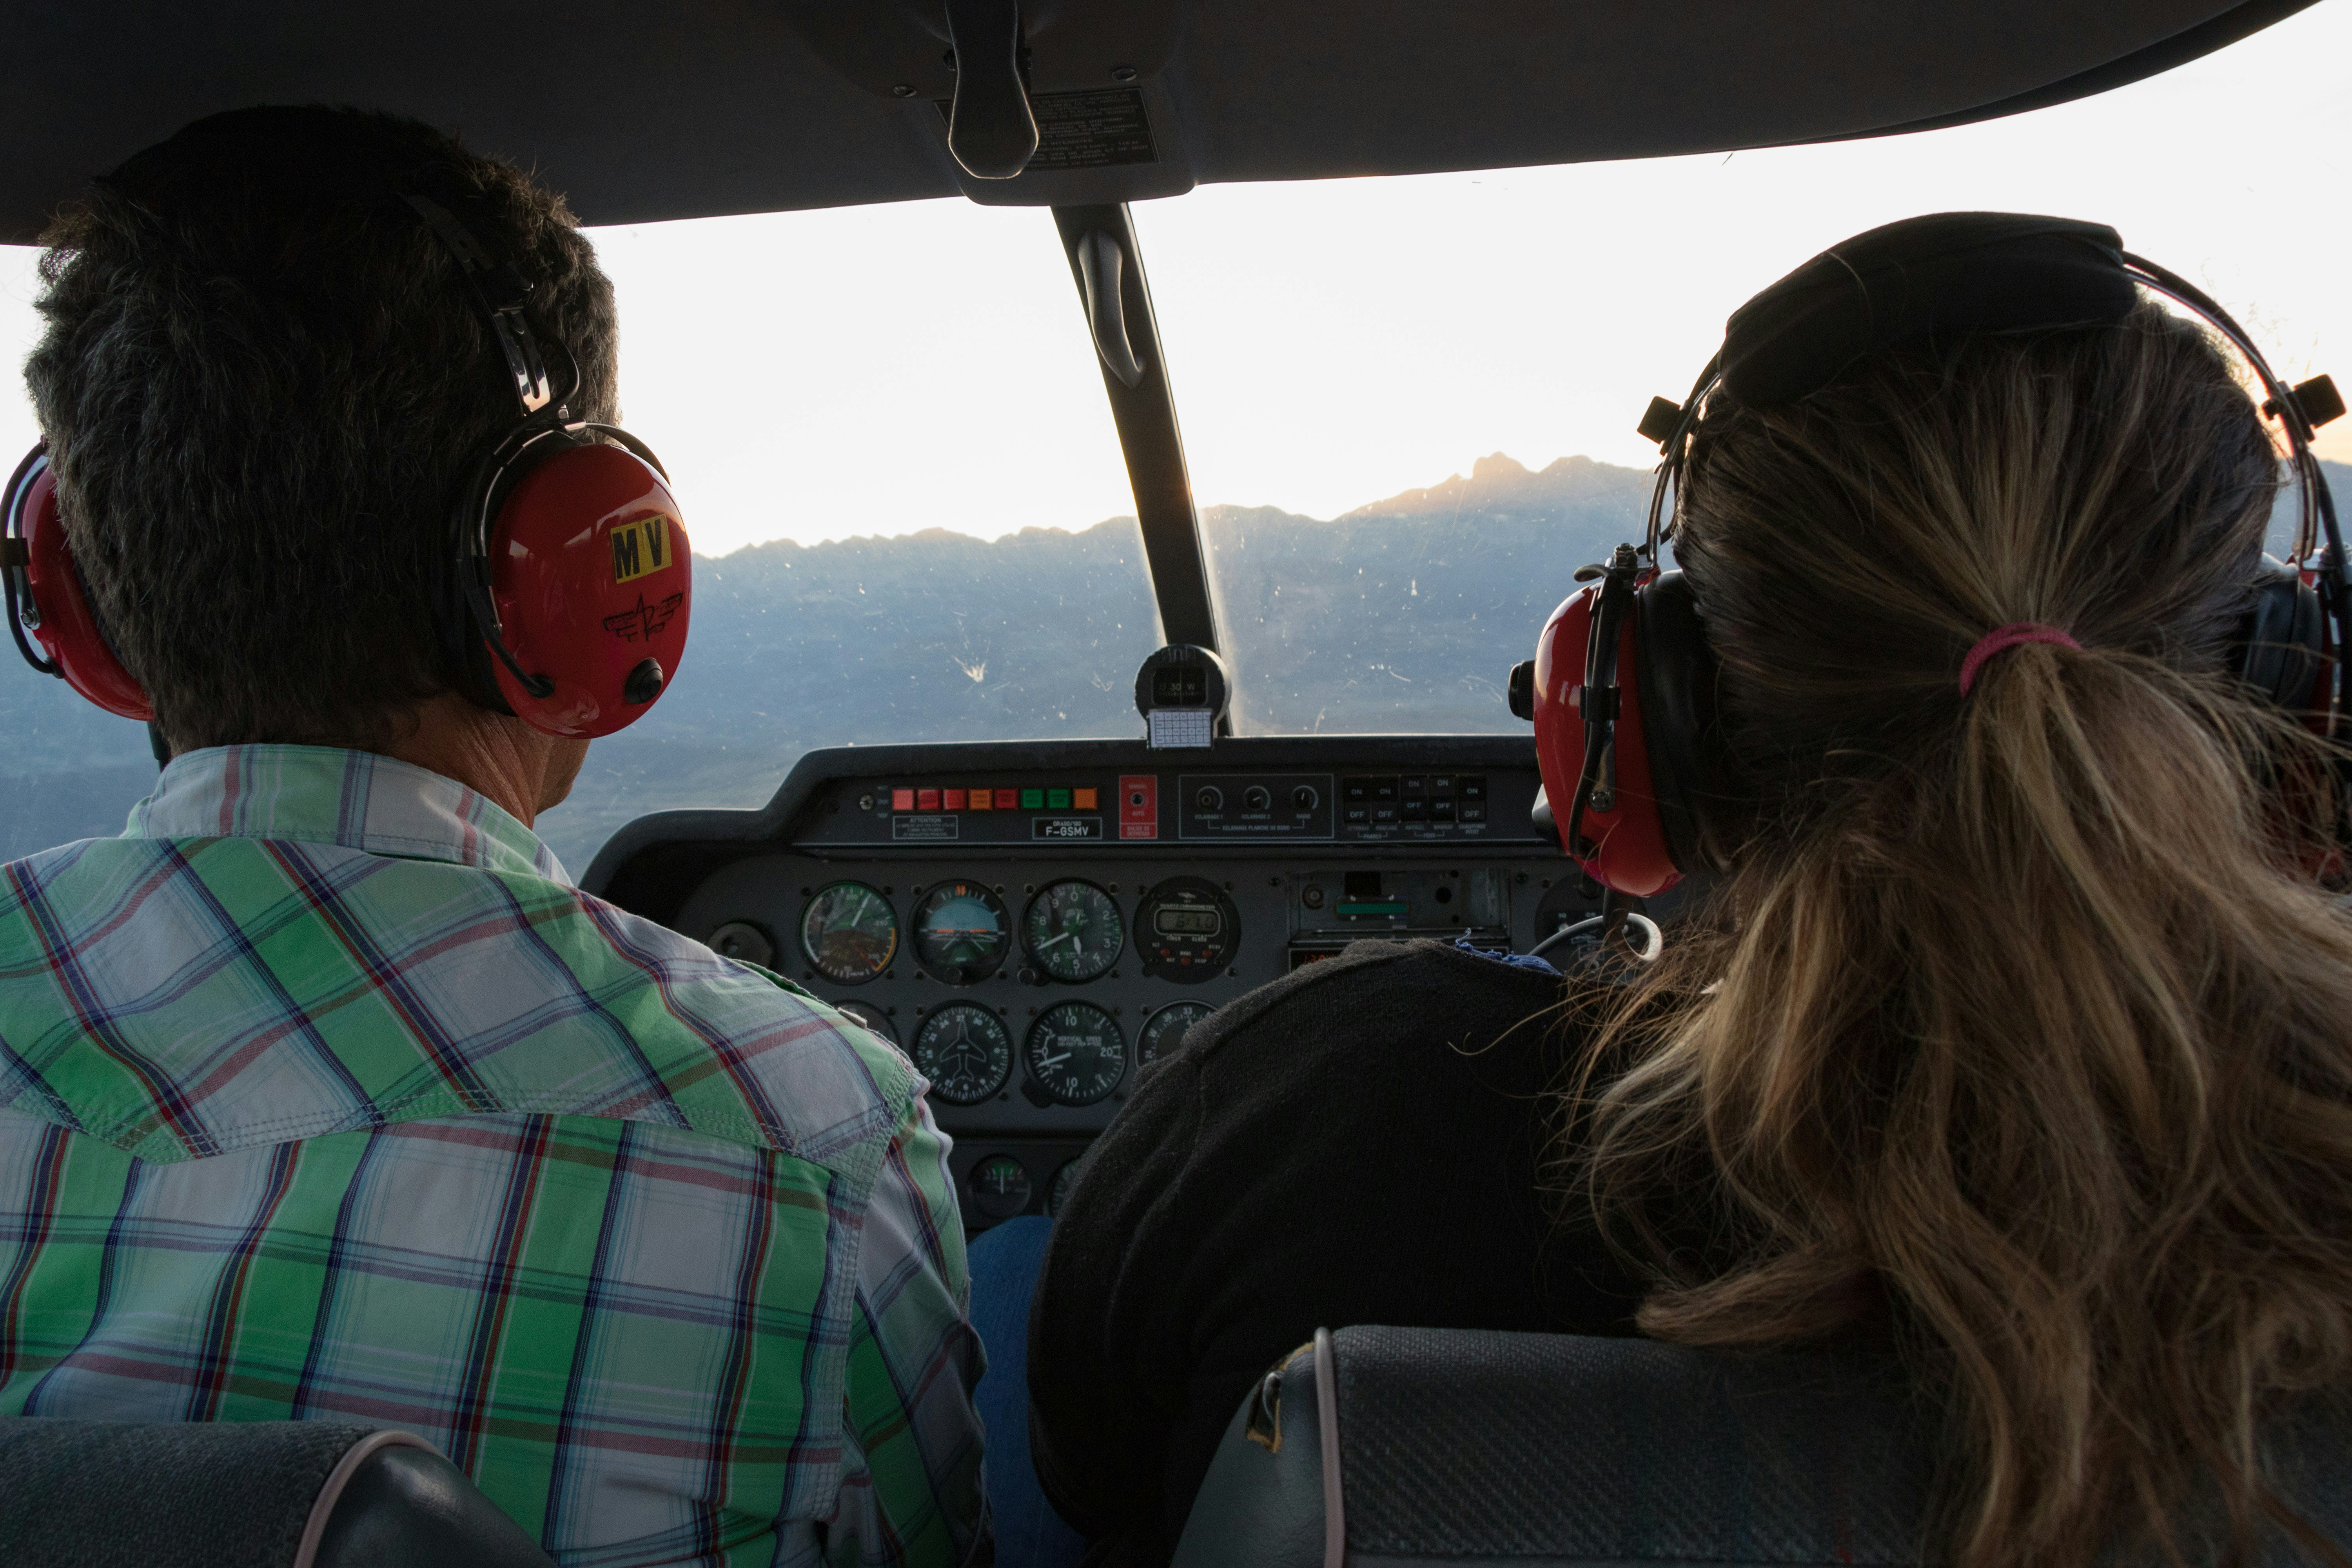
Step 3: Preparing for the Checkride (the smart approach)
Your checkride is a final demonstration of the skills you’ve been building. Preparation is cumulative, make every lesson count.
Perform full cross-country flights
- Plan and execute multi-leg cross-country flights to practice planning, diversions, fuel management, and unfamiliar-airport ops. California’s diverse airspace (coastal, mountain, desert) is perfect for this.
Run scenario-based emergencies
- Practice realistic failures (partial panel, engine-out procedures on the ground, radio failures, diversion decision-making). Scenario training builds judgement, not just stick skills.
Mock checkrides
- Schedule at least one full mock checkride with your instructor (oral + flight) to identify gaps in knowledge and polish communication style.
Debrief rigorously
- Every flight should end with a structured debrief: what went well, what to fix, and a plan for the next lesson. High-quality debriefs are where most students accelerate.
Step 4: Money, Time, and Practical Planning
Typical cost range (California context)
- Expect variation, but plan for $10,000–$18,000 as a realistic total for typical students, this includes aircraft rental, instructor time, written exam fees, and checkride costs. (Costs vary by airport, aircraft type, and flight frequency.)
Timeframe
- If you fly regularly (2–3x/week), many students finish in 3–6 months. Part-time students who fly once a week may take 9–18 months.
Ways to reduce cost without sacrificing quality
- Use simulator time effectively.
- Study ground school material on your own or in a focused ground-school class.
- Fly consistently to avoid re-training due to long gaps.
Step 5: Keep Learning: After the PPL
Your PPL is the beginning, not the finish line.
Logical next steps
- Instrument Rating (IR): Make you safer and more capable in IMC.
- Commercial/CFI: If you want to build flying as a career, follow the PPL → IR → Commercial → CFI path.
- Type/time building: Fly different aircraft, night currency, mountain and coastal ops to broaden experience.
Stay current
- Regular cross-country flights, safety seminars, and proficiency flights keep you safe and marketable.
Step 6: Mindset: Motivation, Community, and Habits
Training is as much mental as it is technical.
Join a community
- Connect with other students and pilots. Mentors and peers accelerate learning and keep motivation high.
Set micro-goals
- Weekly goals (e.g., “solo maniuevers,” “plan a 150 nm cross-country”) create momentum.
Celebrate milestones
- First solo, first cross-country, and first night flight are meaningful psychological milestones, recognize them. They matter.
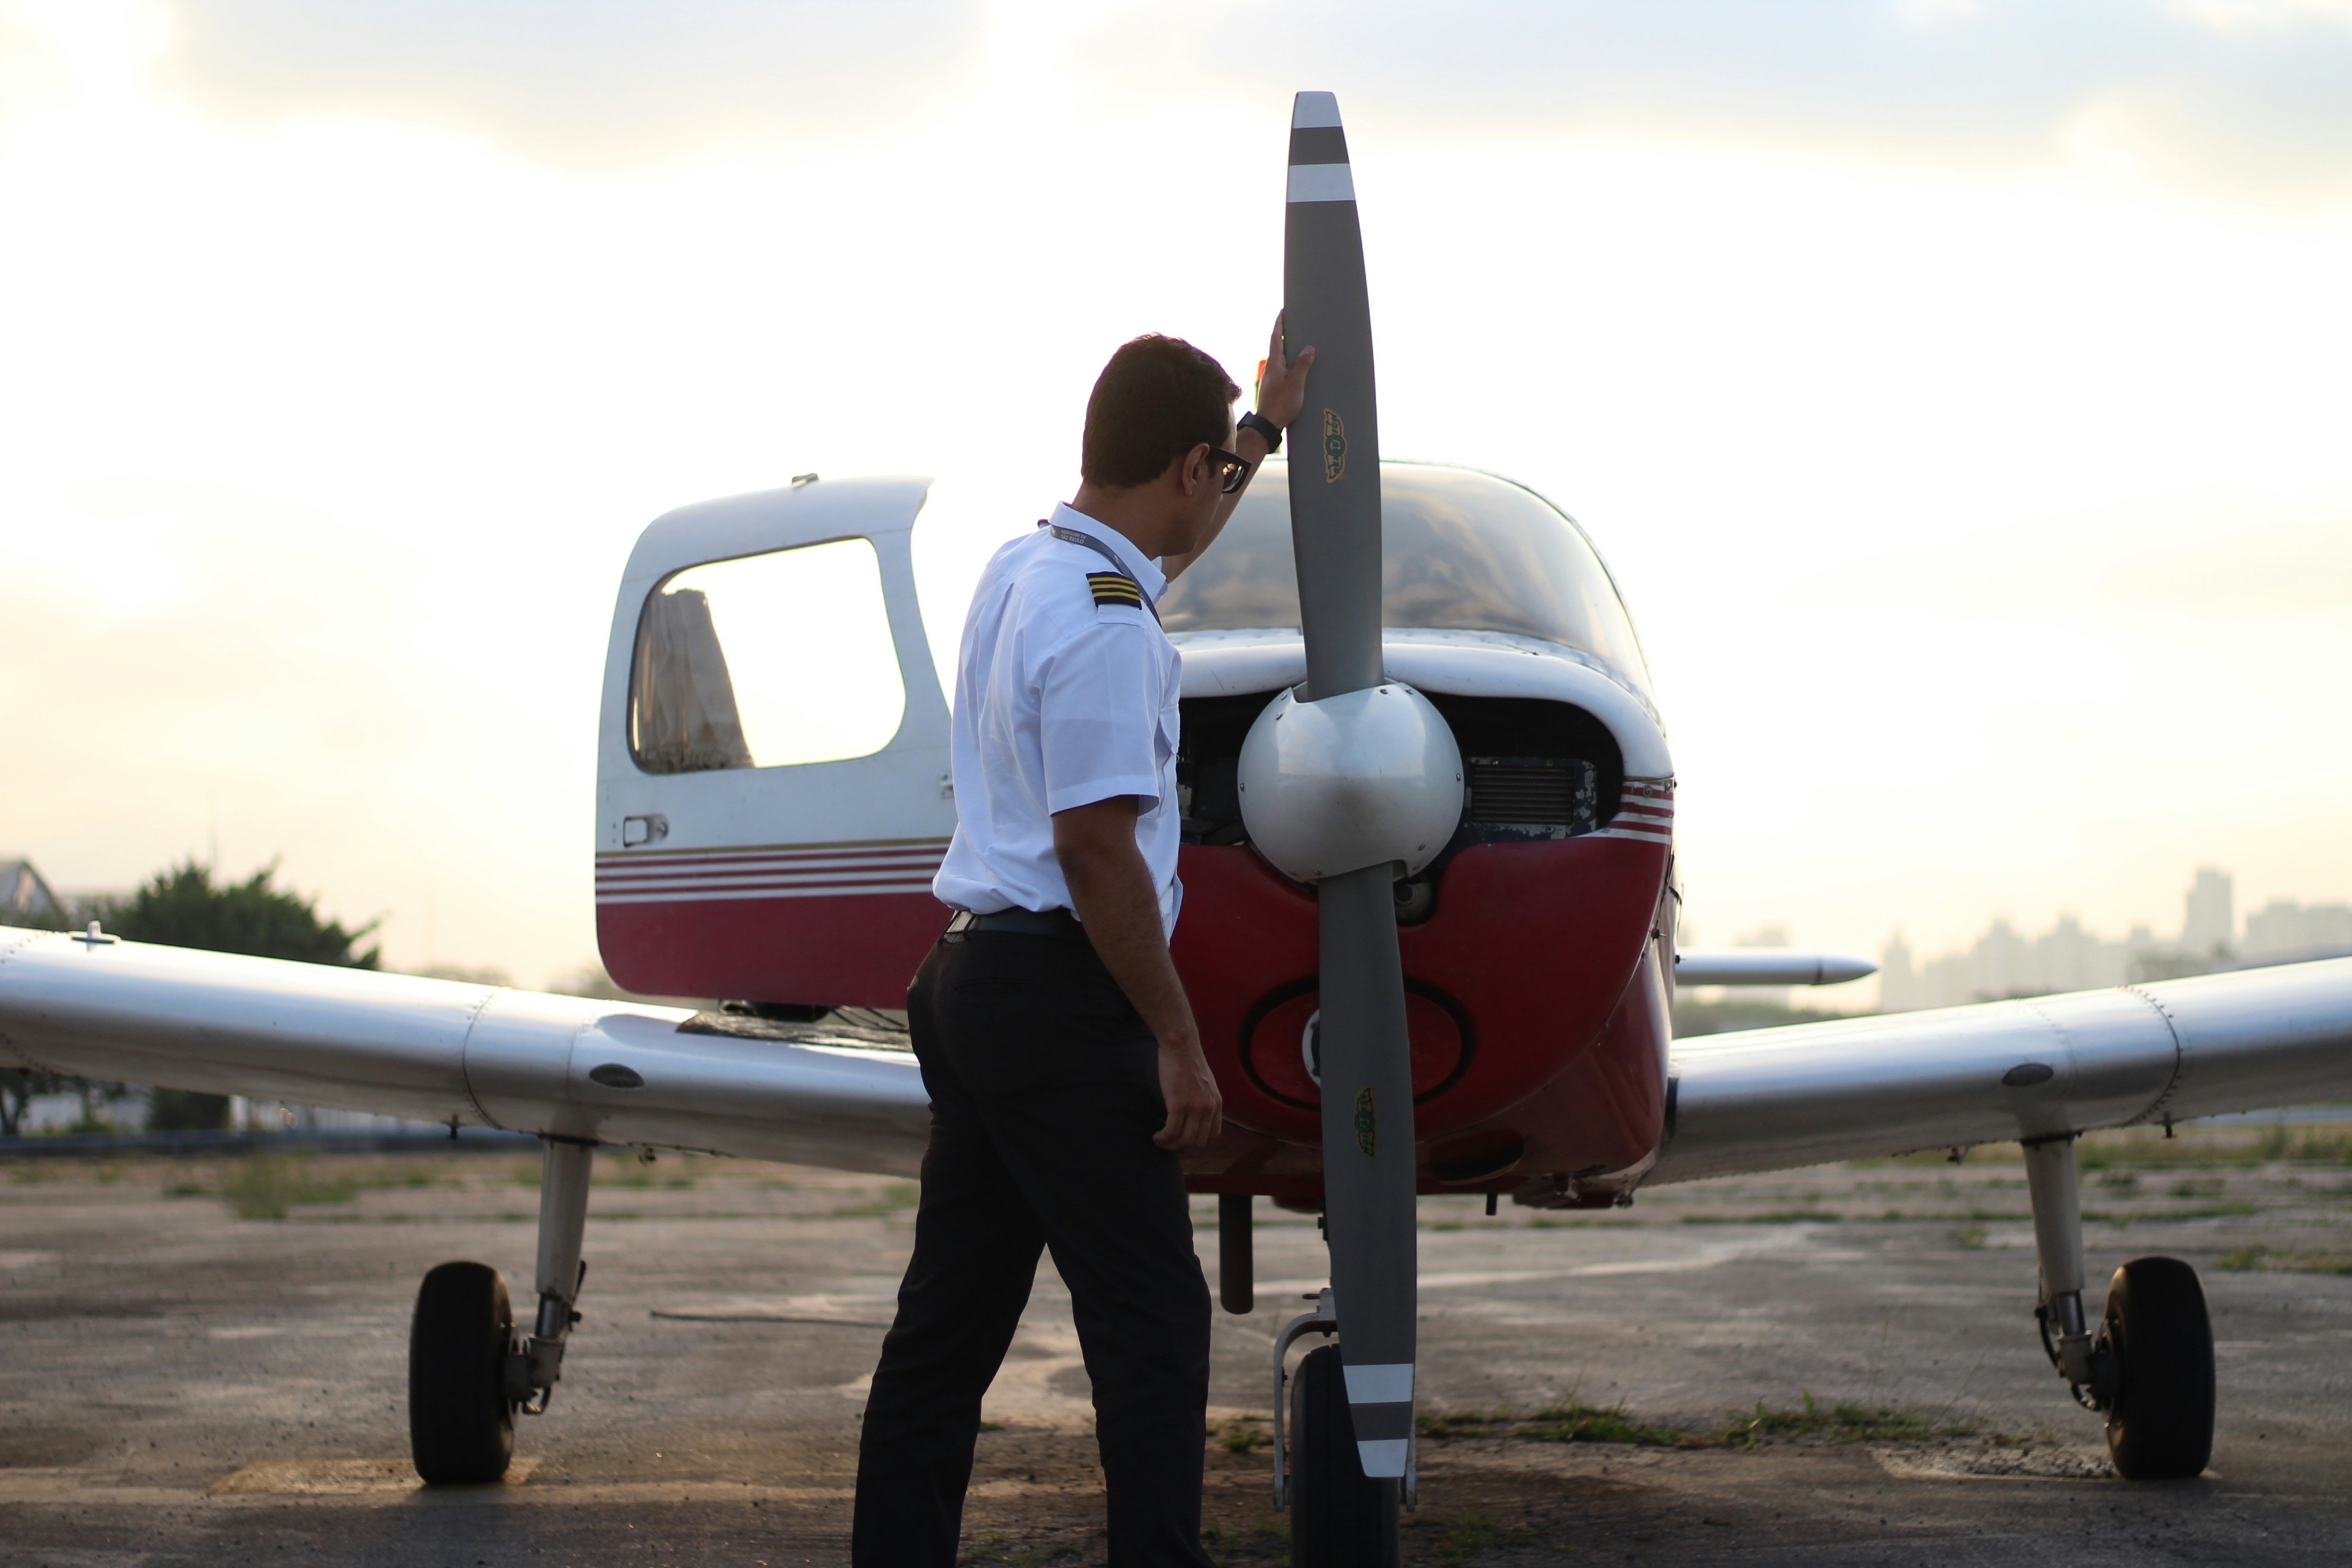
Quick checklist, Ready to take off?
- Book an introductory discovery flight (ride + short lesson).
- Get an FAA medical or confirm BasicMed eligibility.
- Choose a school with a solid syllabus and a primary instructor.
- Commit to a training frequency (aim for 2–3 flights/week).
- Set a training budget and track expenses.
- Start a flight training journal and review it between lessons.
Ready to get started?
California’s skies are waiting. If you want personalized, mentor-led training that emphasizes real stick time, scenario-based decision making, and a clear path from your first lesson to your checkride, and beyond, McFly Education can help.
Book a discovery flight, talk to our instructors, or stop by Cable Airport and see how we train pilots to think and fly confidently.